Thursday, May 16, 2013

Long time No Post

hello world! It has been a verrrry long time since any posts have been made! There is no excuse! I haven't been doing much of anything, besides getting a new puppy!! So my pet kids number is up to 4. Newest addition is a chihuahua named Zeus. Pretty sweet little guy and the cats don't hate him but they don't love him, but hey I am just glad our cat Clyde stopped puking every time the pup came near him.
Zeus! 


Our Loving Pet Kids


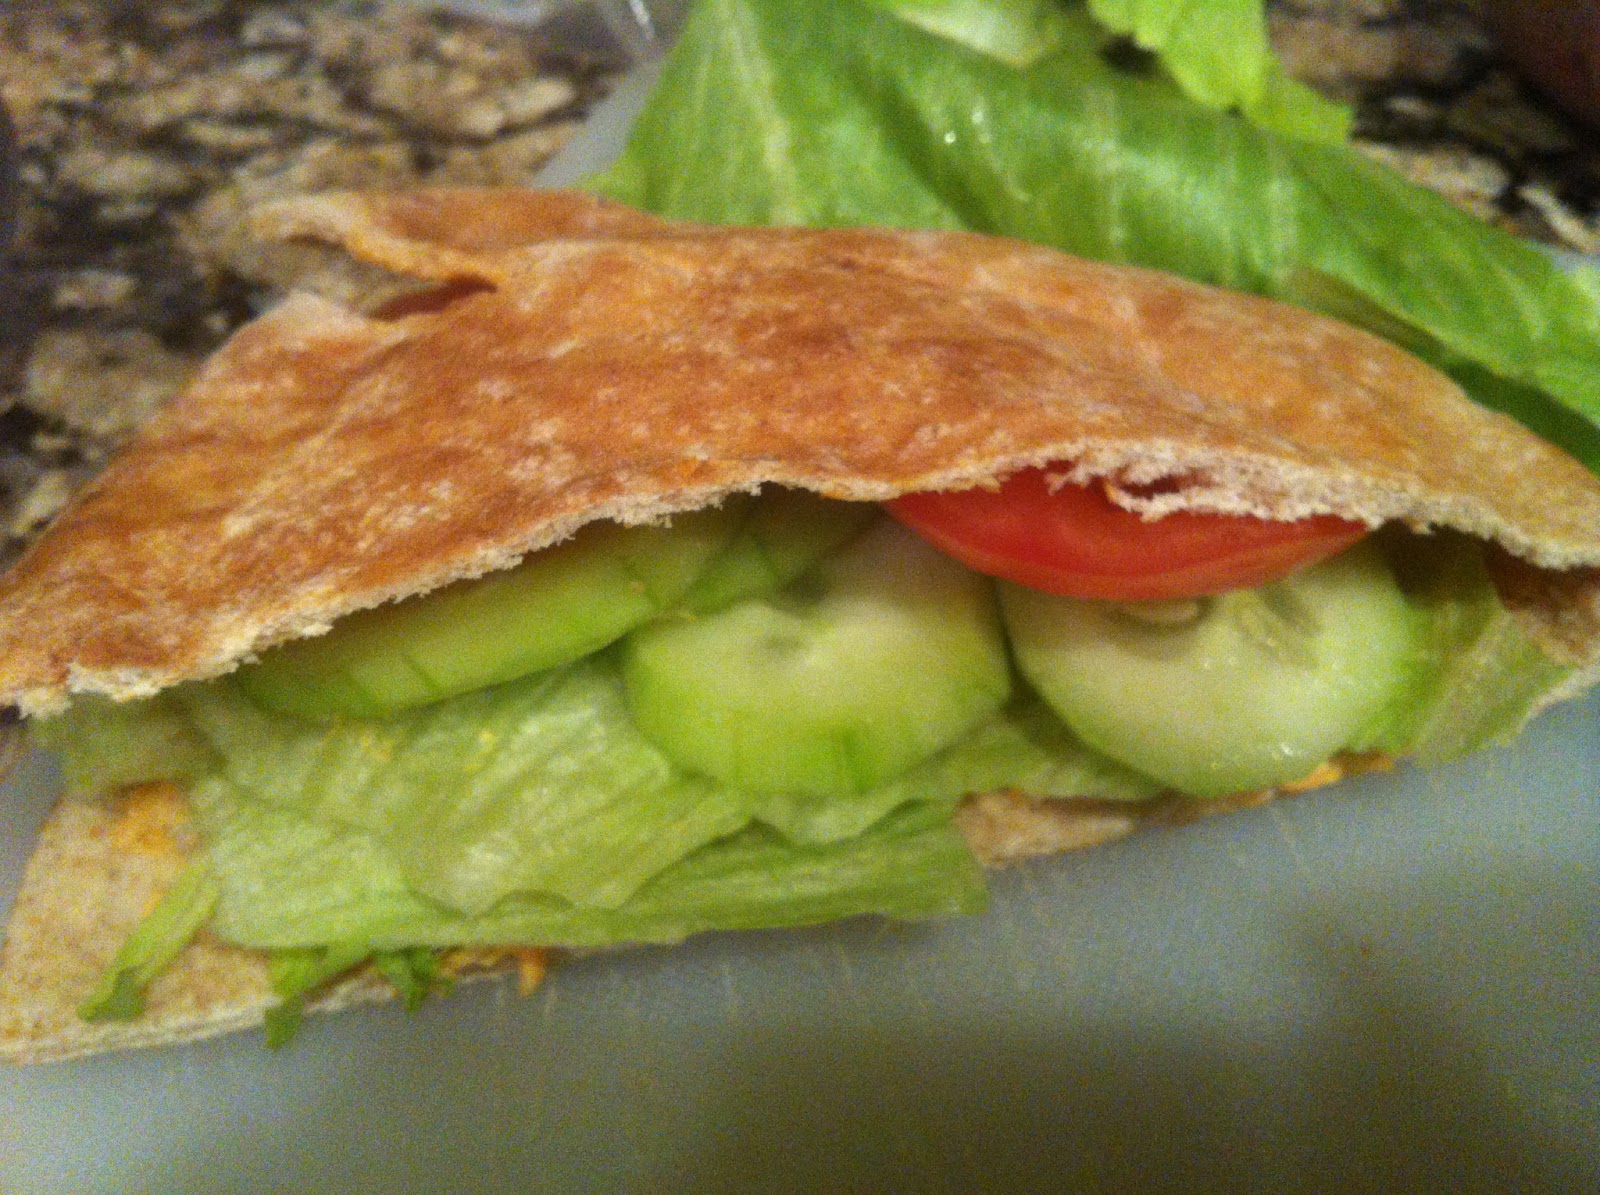
So about a week ago my husband and I were sitting out to lunch when we decided that we needed to get healthy and lose some poundage.(as we were eating ginormous delicious burritos) We made a plan and went shopping for the supplies we needed ; clothes, shoes and GNC stuff. When we got home we suited up and went out for our first mile and a few hours later we went out again. Since then I have been going out twice a day two miles in the morning alone and three miles in the afternoon with my husband when he gets home! We  drink tons of water during the day and also cut back a TON on our calories. Its not easy, my knees are killing me, I have band aids on my heels, and all I want is to eat my whole kitchen BUT I am determined to drop this weight. 

I have been spending a lot of time on the fitness and health section of pintrest to find recipes that wont kill our diet. I've found tons of stuff that's super helpful!! It gives me ideas for my morning protein shakes and how to substitute things in meals. My favorite things I have found this week are cauliflower rice and banana muffins!


Cauli-Rice
The cauliflower rice or what I call it Cauli-Rice, has to be one of the most amazing ideas someone has come up with. Honestly.. amazing. One serving of white rice is going to run you about 50 calories a serving size is 1/4 cup!!!!!! SERIOUSLY that's a joke.. who is going to be full after one serving.  For the same amount of calories of cauliflower you could have TWO CUPS!!!!!!!  Plus it is tons better for you. Cauli-Rice is easy to do. Chop it in to florets, throw it in a food processor, pulse about 4-5 times BAM you have cauli-rice! Just microwave it for about two minutes and its ready to eat! Your welcome for discovering this. :-D


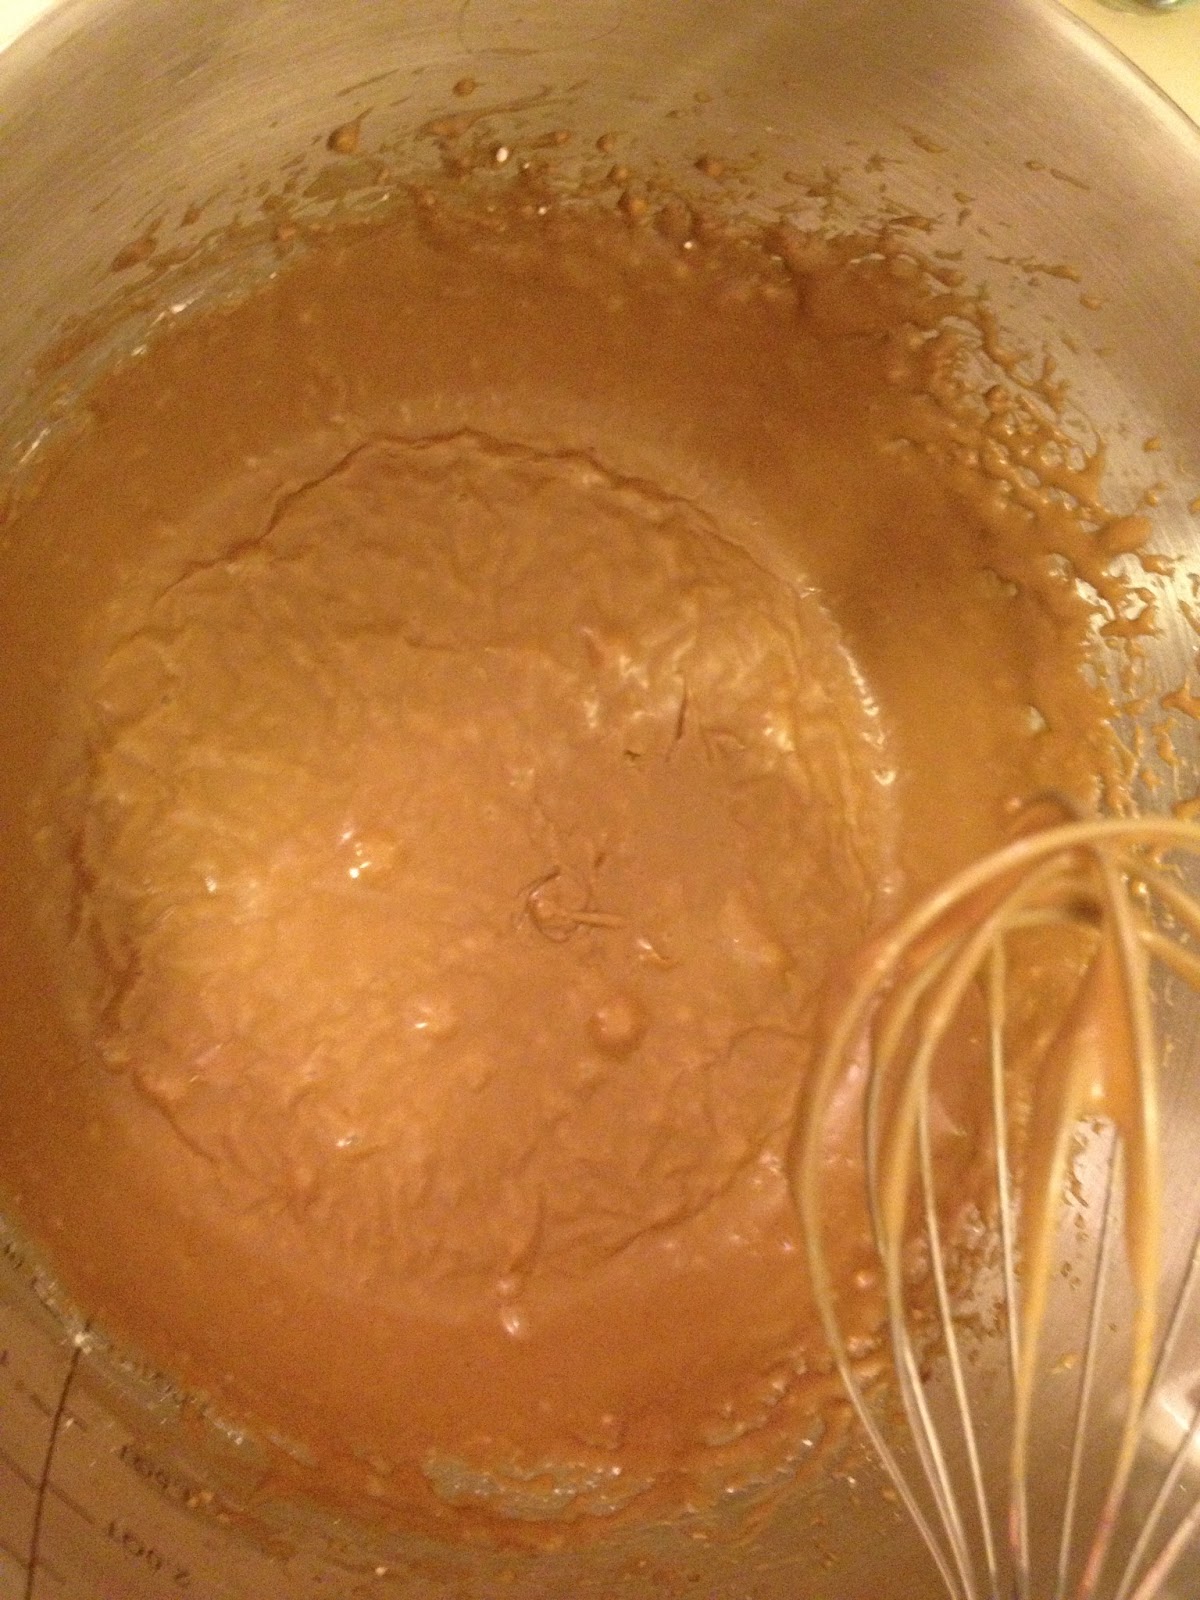
I have been craving sweets like crazy.. but everything I have in my house is full of stuff I am not suppose to have. I searched and found a recipe that was already  low calories(pin) but I figured I could fix it up a bit and make it a little better.. and I did!! Original pin was 16 servings 130 calories each. I got it to 12 servings 107 calories each! I used a muffin pan instead of making it in a loaf. If you wanted smaller portions 16 servings would be about 80 each. 
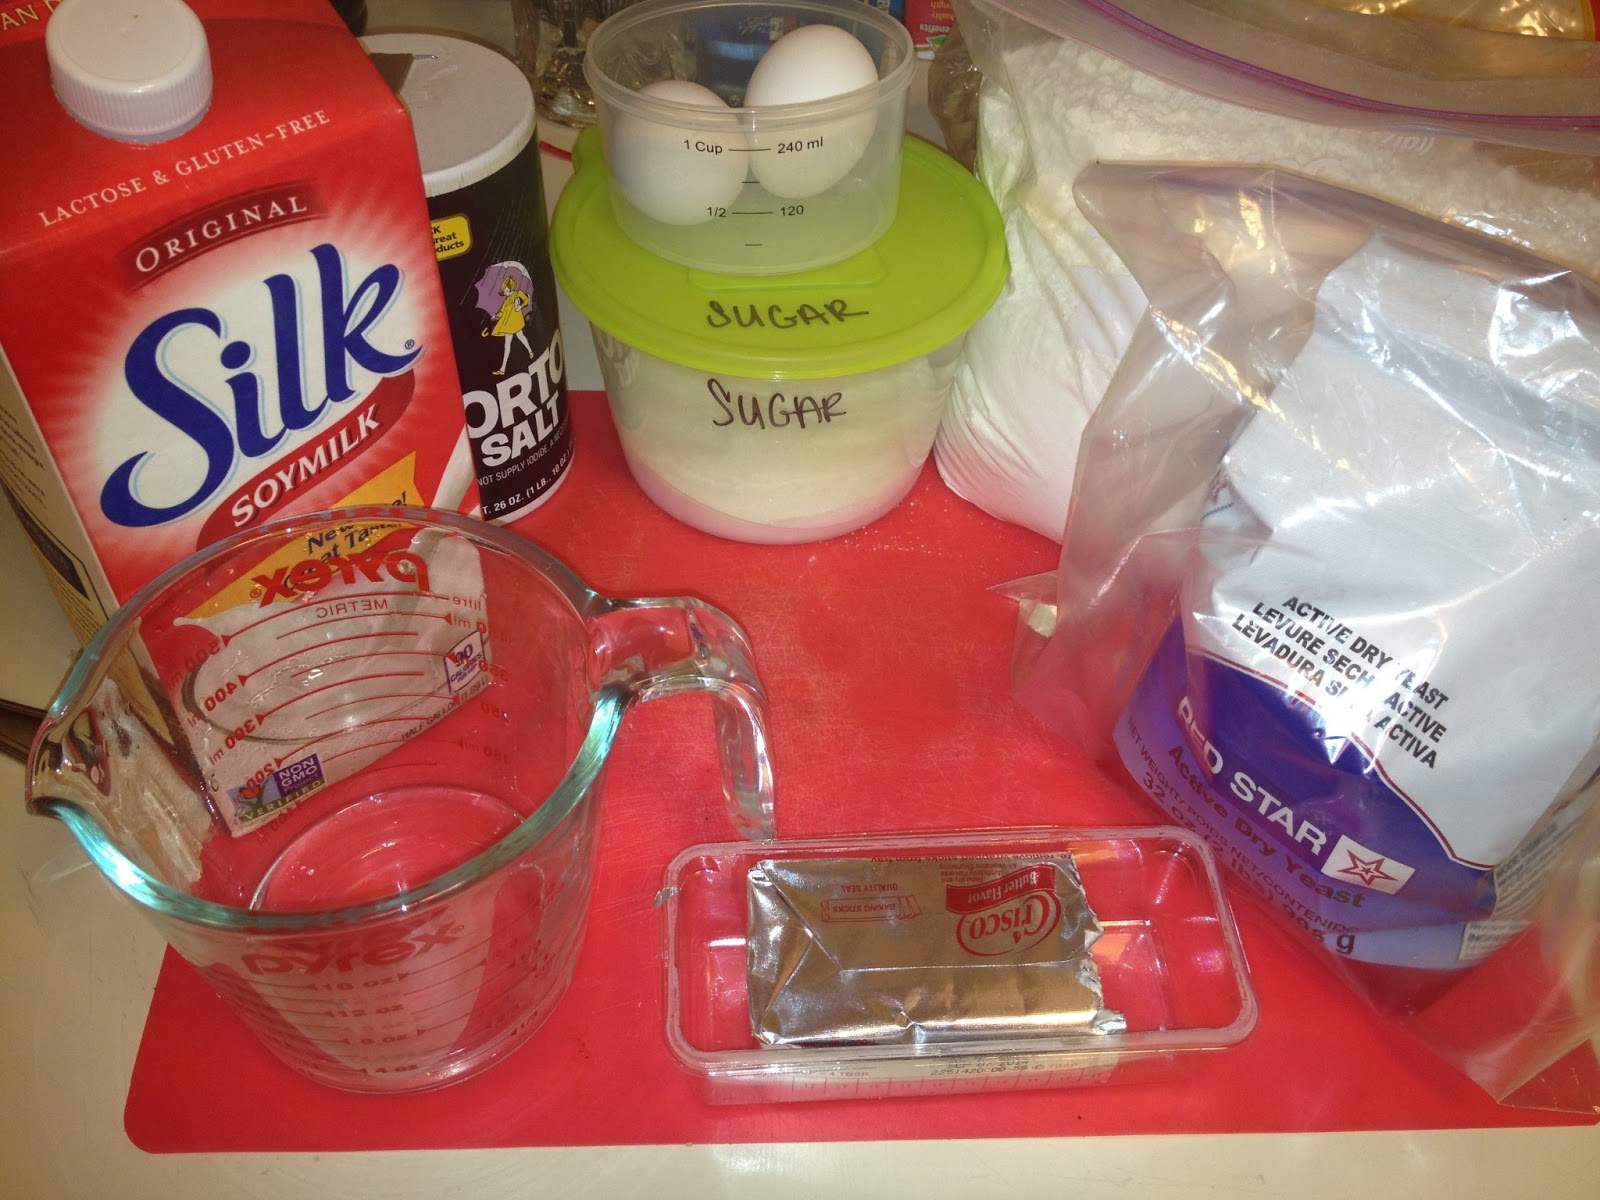
FancyBananaMuffins

Dry: Sift together
3/4 c All-Purpose Flour
3/4 c Whole Wheat Flour
Deliciousness on a platter

1 1/4 tsp Baking Powder
1/2 tsp Baking Soda
1/8 tsp Salt
3/4 tsp Cinnamon

Wet: Mix together
2 Egg Whites OR 2 tbs ground flax seed+6TBS water
1 c Mashed Banana
1/4 c Applesauce, unsweetend
1/2 c Granulated Sugar
1/4 c Truvia
1 tsp Vanilla

Preheat oven 350 degrees. Combined Dry with Wet, Prep muffin cups with non stick spray. Put 3 TBS batter in each cup. Bake 15 mins 

I hope to post more fancy things and update our progress! 


Wednesday, February 6, 2013

more crochet!

So I have been gone again! I have become addicted to crocheting I finally finished the blanket and  I have made more cozies and cat sweaters! My cats totally love all of their outfits.. mostly! Here are my cats modeling there sweaters and my cozy!


My sweet Clyde Burger!


Dax Cheese chillin 

Luna Pie trying to be bad

New and improved cozy! 

The Chubbo (Clyde) enjoying some gaming
Im still learning! I did attempt some slippers but I got confused and took it apart! So I am going to have to keep learning and hopefully I will be a pro soon! 
 

Vegan Buffalo Chicken Dip

So at my work, Walmart, they kept showing an ad for a buffalo chicken dip. Well Husband and I went back to vegan February 1st, so ranch was not an option for this dip. I looked up a few recipes and came across this one. It wasn't a pin because the site has no pictures.

Even though we do not watch sports, we had this dip on Sunday (Super Bowl Sunday), so it was sort of appropriate even though we did not participate. I also made pasta salad to go with it.


Recipe requires:
- 1 teaspoon dried parsley
- 3/4 teaspoon ground black pepper 

- 1 teaspoon seasoned salt 
- 1/2 teaspoon garlic powder 
- 1/4 teaspoon onion powder 
- 1/8 teaspoon dried thyme
- 8 oz of silken tofu (most tofu is 14 oz)
- 16 oz of vegan cream cheese (tofutti is a great brand)
- 1/2 c PLAIN/UNSWEETENED soy milk (do not use the regular one because it can make the dip a little sweet)
- 3/4 c Franks sauce
- 1 package your favorite fake chicken, recipe says to use smart strips, but they were pricey
- celery for dipping (I also used cucumbers because I love to use them for dips)

- First preheat oven to 300 degrees.
- Cut/chop chicken by hand or in chopper.
- Combine all the dry ingredients with soy milk and tofu in blender, then add cream cheese and Franks. 
- Place in pan and cook for 30 minutes.


I chopped the chicken by hand. So if you haven't caught on to my cooking style, I just can't seem to follow a recipe fully...I'm a rebel I guess. I didn't have thyme, and only bought one container of cream cheese because I didn't pay attention to the size needed. So since there would be extra silken tofu, I decided to use that in place of the extra cream cheese, plus its less fat and calories doing it that way. The dip turned out fine with that change. It was tasty but the first night it seemed like it was missing substance...like there wasn't enough chicken...it was like eating creamy Franks sauce with celery and cucumber slices. After being in the fridge, it was much better and thick like dip should be.

The next day, since I still had a bunch of dip left, I sliced up potatoes for breakfast and once they were cooked , I added some of the dip to coat it, they were fantastic! I did that twice. I had some left over so I made Franks pita sandwiches with the dip, lettuce, tomato, and cucumber. It was devine! So I followed the slogan... Franks Red Hot (chicken dip), I put that S*** on everything! HAHA


Cleaning Comparisons

First off, I would like to add that we had not been in the apartment in almost a month since we had bought a house but still had to finish out the last 60 days. We were growing potatoes...most exciting part of the cleaning...


The Dirty Burners
I have a few pins that I tested out on this cleaning venture. The very first pin was kind of a fail. The picture of the pin says "The no scrub way to clean your burners"...I still had to scrub a bunch! It was terrible.

Supplies Needed:
Dirty Burners
Ammonia
Ziplock bags
Supplies


First you place the burners in the bag with about 1/4 cup ammonia. I placed the bags in the sink in case they leaked. Leave overnight or 8 hours.

The next morning you will see some of the grease has come off and the ammonia is a gross color. After much SCRUBBING, I was able to the the burner cleaned. The pin might work if you clean your burners more often than we did at the apartment.

Next came the stove. I compared this pin which recommends baking soda and vinegar, against store brand oven cleaner, as well as baking soda with peroxide. I used the store brand cleaner in the oven, the vinegar mix under the top of the stove - where the crumbs fall, and the peroxide on the top of the stove. I left them over night, mainly cuz the oven cleaner required 8 hours and I had to go to work.

 The first pic is the oven with the cleaner which caked on after the hours went by. The second pic is the middle with the vinegar - you  can see the reaction between the baking soda and vinegar. The top is the baking soda and peroxide - which has no chemical reaction.

 The oven cleaner was fairly easy to scrub off and seamed to work, but when using it, I needed GLOVES and a MASK, the fumes are horrible, I'm glad my pets weren't there during this.


The peroxide did nothing really. For EASE OF CLEANING, its a tie between the cleaner (left) and the vinegar (right). For SAFETY, the winner is definitely the vinegar, by far! The cleaner can burn your skin and burns your lungs when using it, its way harsh! Plus I don't like the idea of cooking with the possibility of harmful residue still in the oven.

 Since the vinegar worked so well, I decided to use it on the burner pans for the stove. I only left it for about 15 minutes so I still had some scrubbing, but with the pic on the right, you can see the "before and after".


For the last pin with pictures, the DREADED MICROWAVE!!! Place a microwave safe container with 1c water and 1c vinegar inside and set to 10 minutes. 

This one worked, but I think it would have worked with just water since it just needs the moisture, but I guess the vinegar helps with germs. Now be cautious when doing this. around 6 minutes the liquid turned into a rocket and shot out of the cup and into the side, the steam fogged up the display. I was worried it would leave moisture, but it went away after about a minute.

Now, I tried a few more pins and cleaning tips. This pin has your place a paper towel soaked in vinegar around that build up around the sink faucet. I tried it and it did seem to make clean up easier. I also found that magic erasers are AMAZING! I had wasted an hour scrubbing the walls a week prior, then I went thru with the magic erasers and the walls are pretty much perfect. Another pin said to soak the cotton coals for perming hair in bleach and place around the tub corners to get rid of the mildew/mold that builds up. I was pressed for time and just used paper towels. It worked, but I think the coils for work better. I might try vinegar and baking soda next time I have that issue. Can you tell I'm loving the BS/Vinegar..its pretty great. Oh, I forgot, since we left potatoes in the cuboard, tsome became really gross and left the shelf black, I used baking soda and peroxide and it helped lighten the stain a bunch. :)


Thursday, January 24, 2013

Crochet!


A couple months ago, being newly unemployed I needed a new hobby( besides baking). So I decided to teach myself how to crochet. I started by looking on Pintrest of course to see what kind of projects I could start with. From there I used YouTube to watch videos of tutorials of the stitches and and other things. My first project was a headband! It was a little big and stitches a little weird and uneven but I was excited to finish it and the headband looked really close to what it was suppose to..sorry don't have a picture of it! After that I made A LOT of flowers they are super fun, easy and fast to make. I was getting pretty comfortable so I figured I was ready for a big project and my husbands birthday was coming up in a few days.. What husband doesn't wish to get a crochet item for his birthday! After thinking a while I decided on a throw blanket. I thought it would take a couple days to do so I had to get started soon! Little did I know what I had got myself into! Lets just say his birthday was over a month ago and I still haven't finished it! Its taken a lot longer then expected and a lot of yarn! Here are some pictures of the blanket in progress!

About half done
Up close

Mug Cozy
My cat Dax follows me where ever I go and he is always in the way. I moved him out of the picture 3 times before I just gave up.. haha But here it is... My goal is to finish it next week! This week I worked on a gift for my cousin. A coffee mug cozy! Really simple project and small. Im going to make a coaster to go with it!
Also works as a cat neck warmer!


Monday, January 21, 2013

Baked Maple Bars

I'm back! My husband had a few days off from work so I spent some time with him and neglected posting for a few days! I still tested some pins out of course.. haha. I wanted to make a dessert for him so I searched and found this pin for baked maple bars.

Baked Maple Bars
1 1/2 cup Milk
1/3 cup Crisco
The Supplies 1
4 tbs Sugar
2 tsp salt
1/4 cup lukewarm Water
2 packets Yeast
2 large Eggs beaten
5 cups Flour
2 tsp Cinnamon

 Directions
Milk Mix
1. Scaled the milk, remove from heat and melt butter and 3 tablespoons of sugar and let cool to lukewarm (about 15 minutes)
2. In mixing bowl mix yeast, remaining sugar and water and let sit for 5 minutes until foamy
Milk / Yeast


3.Add beaten eggs to foamy yeast mix.
4. Slowly add warm milk mixture to yeast mix.
5. Whisk together cinnamon and flour in separate bowl.
Step 6


6. Add flour mix gradually to milk/yeast mix until almost combined.
7.Switch to dough hook and let knead for 5-7 minutes until slightly sticky.


8. Transfer to oiled bowl and let rise for 30 minutes until doubled.
Step 8 B

Step 8 A

9.Roll out dough and cut into 12 bars. Put on cookie sheet and let rise for 30 minutes.


10. Preheat oven 425 degrees. Bake for 7-8 minutes and let cool


The Frosting
1 cup packed brown sugar
1/4 cup milk
1 1/2 cup powdered sugar
2 tsp mapleine (maple flavor extract)
1/8 tsp salt
 Directions
1. On medium heat, bring milk butter and brown sugar to a boil for 3 minutes. Set aside to cool for 15 minutes
 2. Mix powdered sugar, maple extract, and salt to brown sugar mix until completely combined
3. Frost donuts!